Wallet
Flair uses wagmi.sh under the hood to provide a seamless wallet experience.
tip
If you use pre-built pages (such as pre-built Minting page, or Webflow integration) you don't need to integrate the wallet experience. Those features provide a "Connect" button out-of-box.
Getting Started
To quickly put a "Connect" button on your dApp:
- Install flair-sdk and FlairProvider as described in Welcome page
- Import ConnectButton component:
import { useAccount } from "wagmi";
import { ConnectButton } from "flair-sdk";

const MyPage = () => {
  const { data: account } = useAccount();

  return (
    <ConnectButton>
      Yay! You are connected with address {account?.address}!
    </ConnectButton>
  );
};
Dive Deep
This component is also available in react-wallet package if you would like to playaround with various customization.
React Components
<ConnectButton />
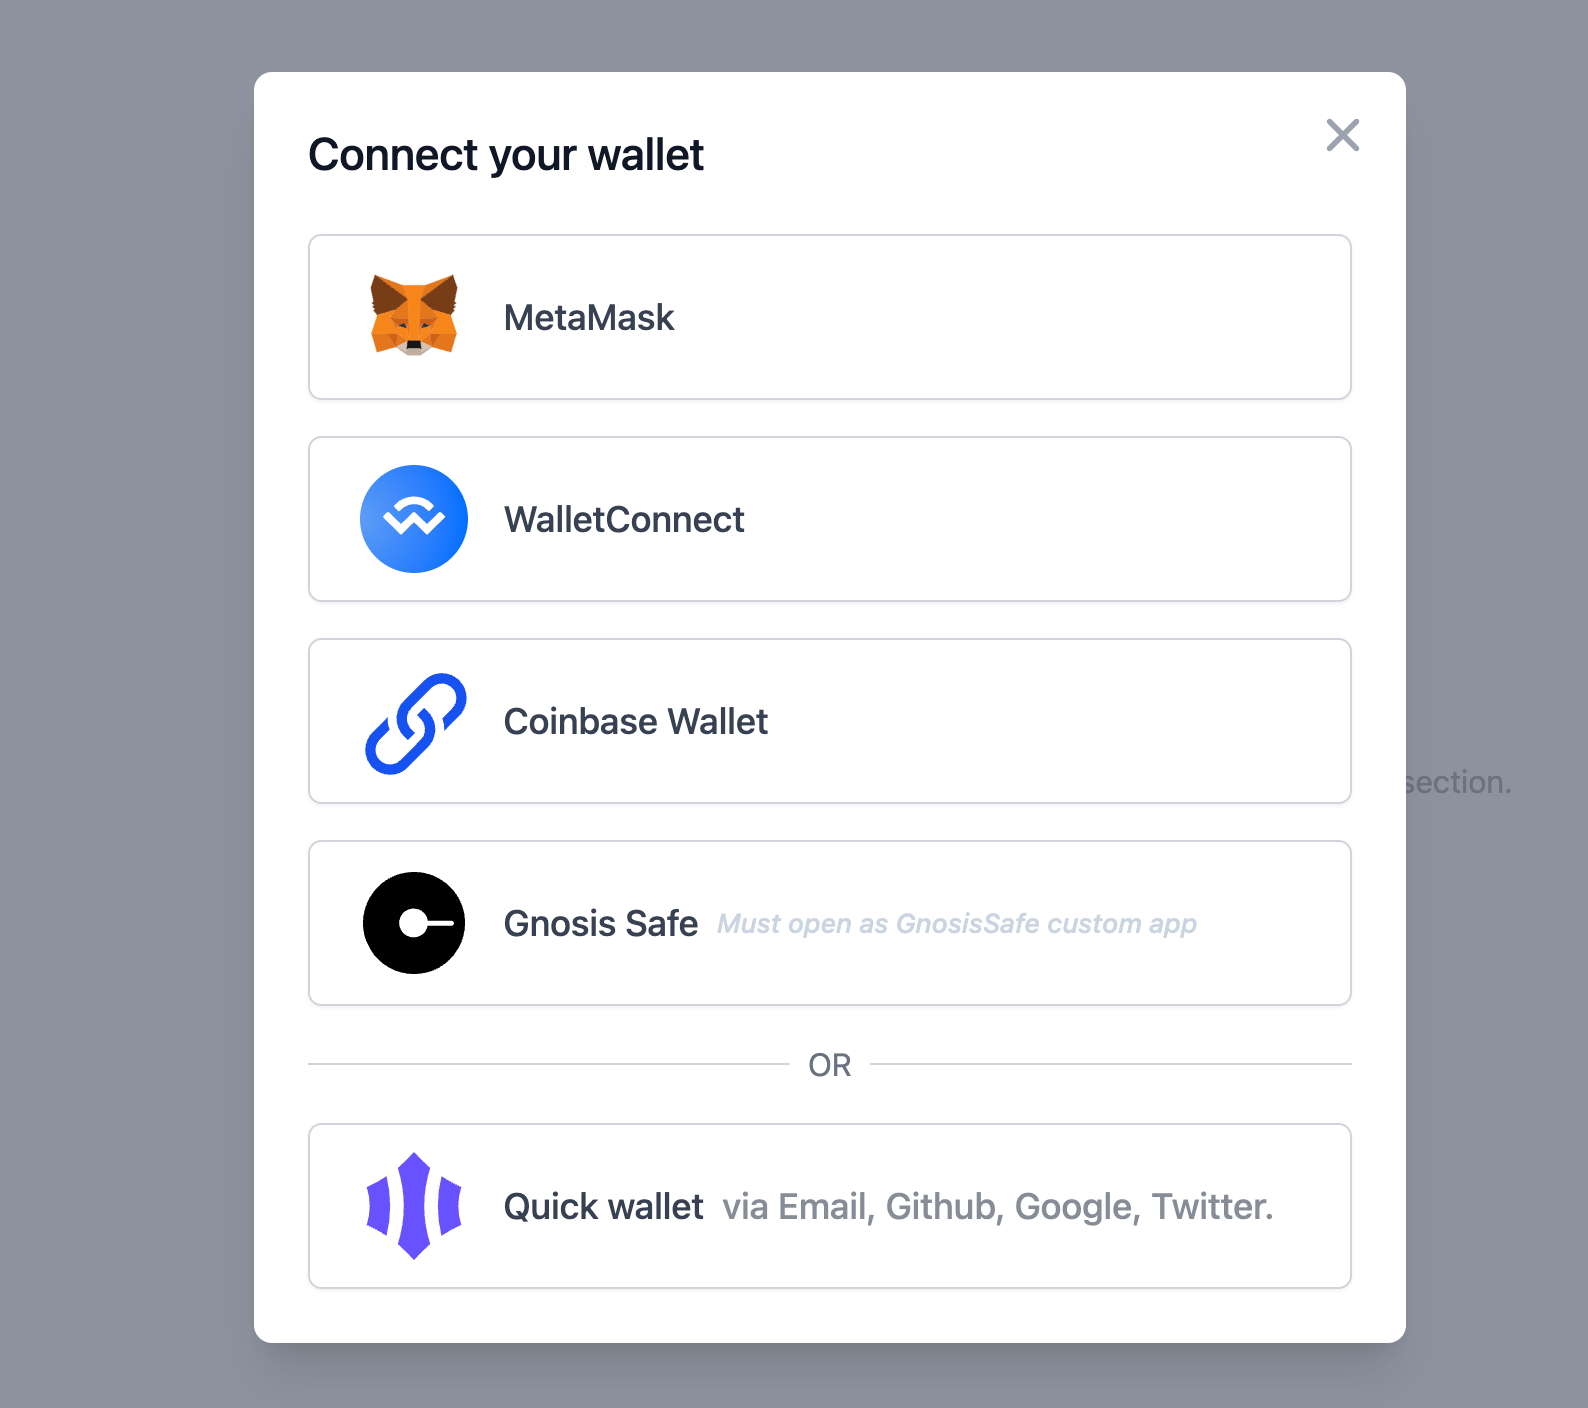
Renders a button that opens a dialog and asks users to connect their wallet. This component renders its children if wallet is already connected, so you can put any component within connect button.
The dialog uses HeadlessUI and Tailwind for visuals, so if you have configured tailwindcss the dialog will look nice out-of-box.
- Requires: FlairProvider (or WalletProvider)
import { ConnectButton, DisconnectButton, NetworkSelector } from "flair-sdk";

const App = () => {
  return (
    <>
      {/* Example: Only if wallet is connected allow user to switch the network */}
      <ConnectButton label="Connect Now" className="my-custom-class">
        You are connected now! You can switch the network <NetworkSelector />
        or <DisconnectButton />
      </ConnectButton>

      {/* Example: If wallet is not connected show a Connect button instead */}
      <ConnectButton label="Connect First">
        <MyMintButton ... />
      </ConnectButton>
    </>
  );
};
<SwitchChainButton />
If wallet is not connected to the right chain it'll render a button that allows users to switch the chain. When user is connected to the right chain "children" of this component will be rendered.
- Requires:FlairProvider(or WalletProvider)
import { ConnectButton, SwitchChainButton } from "flair-sdk";

const App = () => {
  return (
    <ConnectButton label="Connect First">
      <SwitchChainButton requiredChainId={1}>
        Now you are correct chain, go ahead and mint: <MyMintButton ... />
      </SwitchChainButton>
    </ConnectButton>
  );
};
<NetworkSelector />
Renders a select-box that shows which network is currently selected, also allows users to switch their network.
The dialog uses HeadlessUI and Tailwind for visuals, so if you have configured tailwindcss the dialog will look nice out-of-box.
- Requires:FlairProvider(or WalletProvider)
import { NetworkSelector, FLAIR_CHAINS } from "flair-sdk";

const App = () => {
  // "chains" prop is optional (defaults to FLAIR_CHAINS)
  return <NetworkSelector chains={FLAIR_CHAINS} />;
};
<IfWalletConnected />
Wraps around a section (a React component) and only renders if wallet is connected.
- Requires:FlairProvider(or WalletProvider)
import { IfWalletConnected } from "flair-sdk";

const App = () => {
  return (
    <IfWalletConnected>
      <MyMintingSection />
    </IfWalletConnected>
  );
};
- Use you can use alternative component
<IfWalletNotConnected>to render a section only if wallet is not connected.
<WalletProfile />
Renders currently connected wallet, their address, and native balance. All props are optional and with sane defaults.
- Requires:FlairProvider(or WalletProvider)
import { ConnectButton, WalletProfile } from "flair-sdk";

const App = () => {
  return (
    {/* Render a connect button first... */}
    <ConnectButton>
      {/* then render profile when wallet is connected. */}
      <WalletProfile
        className="optional-some-class"
        showAvatar={true}
        avatarClassName="optional-avatar-class"
        showLabel={true}
        labelClassName="optional-label-class"
        showBalance={true}
        balanceClassName="optional-balance-class"
      />
    </ConnectButton>
  );
};
<SwitchChainButton />
Wraps around a section (a React component) and ensures that wallet is connected to the right network.
- If chain is not correct it will render a button labeled "Switch for me" that automatically switches the wallet for user.
- If chain is correct it will render the children elements.
You can find the proper chain ID from chainlist.org
- Requires: FlairProvider(or WalletProvider)
import { SwitchChainButton } from "flair-sdk";

const App = () => {
  return (
    <SwitchChainButton requiredChainId={137}>
      <MyMintButton />
    </SwitchChainButton>
  );
};
Other components
<NetworkSelector />allows user to see all networks and switch.<ConnectPalette />directly renders a palette of all available wallet options (without the dialog).<WalletDropdown />renders the wallet profile, and a drodown to show balance, option to buy, and a disconnect option.<IfWalletNotConnected />renders children if wallet is not connected yet.<DisconnectButton />render a button to disconnect the wallet.
React Providers
<WalletProvider />
Encapsulates wagmi's provider with default configuration and major wallet connectors out-of-box.
tip
For majority of cases you should use FlairProvider instead, which already includes WalletProvider.
import { WalletProvider } from "flair-sdk";

const myClient = () => {
  /* ... a custom wagmi client */
};

ReactDOM.render(
  // wagmiOverrides is optional.
  // Wagmi provider is configured with major wallet connectors by default.
  <WalletProvider wagmiOverrides={{ client: myClient }}>
    <App />
  </WalletProvider>
  // ...
);