1) Launch an NFT Sale
Whether as a fundraising mechanism, or exclusive community membership, or sales of your gaming assets, you can use NFTs to trustlessly launch your collection. Here you will learn how to use Flair's ready-made open-source smart contracts to achieve that.
What to expect after this tutorial?
- To create an NFT collection with 8,000 tokens.
- Running a pre-sale for OGs (early birds) and public-sale for the rest of your community.
- A minting page where collectors can pay to purchase the NFTs
- A fully deployed contract completely under your control with zero-trust no-vendor-lock on Flair.
Requirements
- A basic awareness about NFTs.
- Have a wallet topped-up to pay for gas.
- Nothing else.
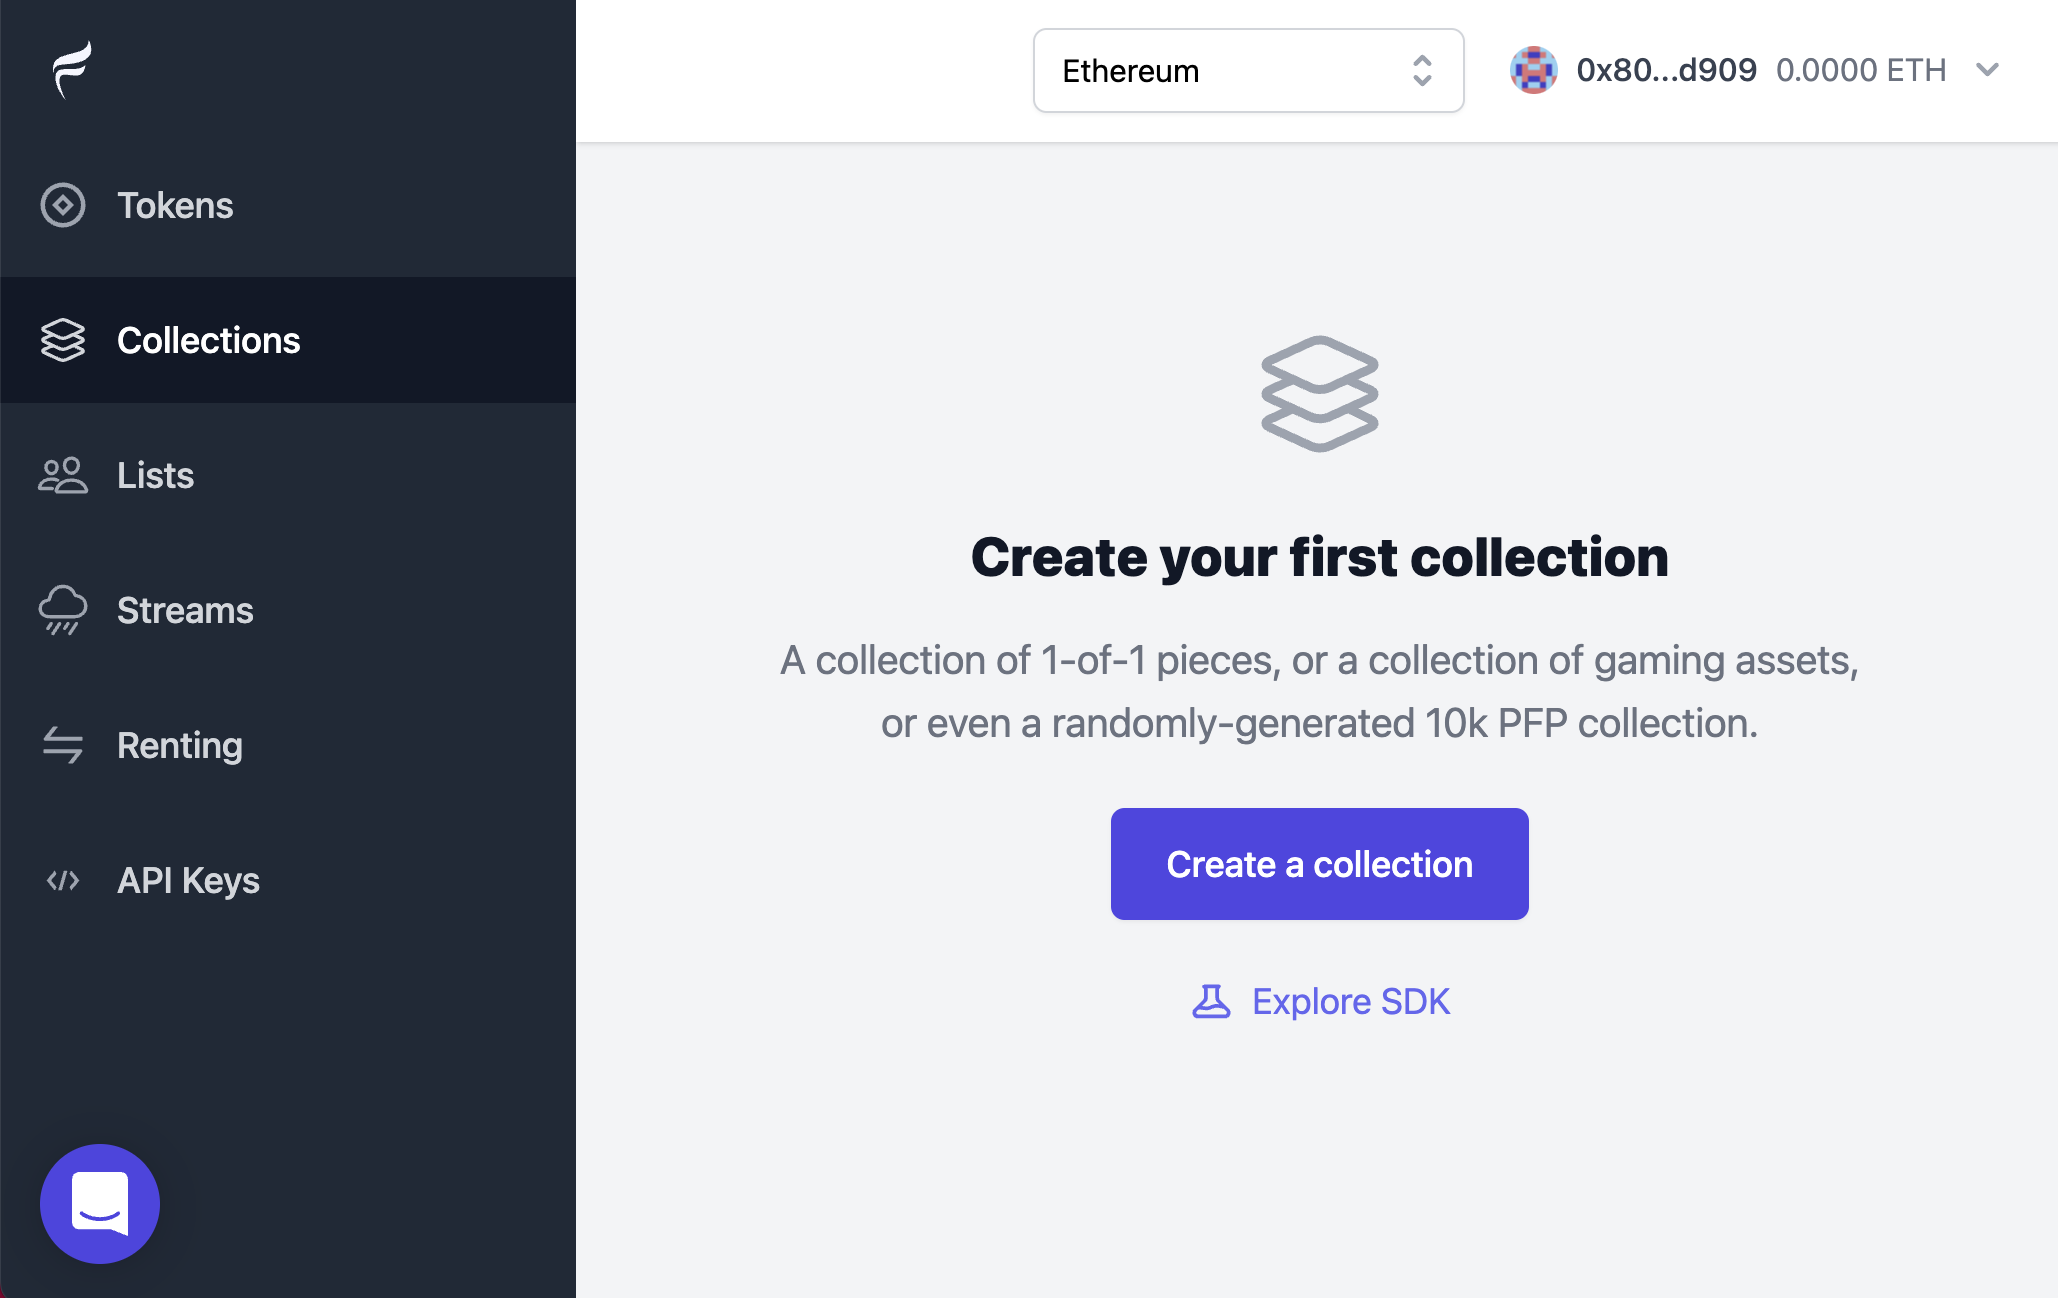
Step 1. Open the dashboard
You can visit Flair's dashboard, connect your wallet and navigate to "Collections" panel.
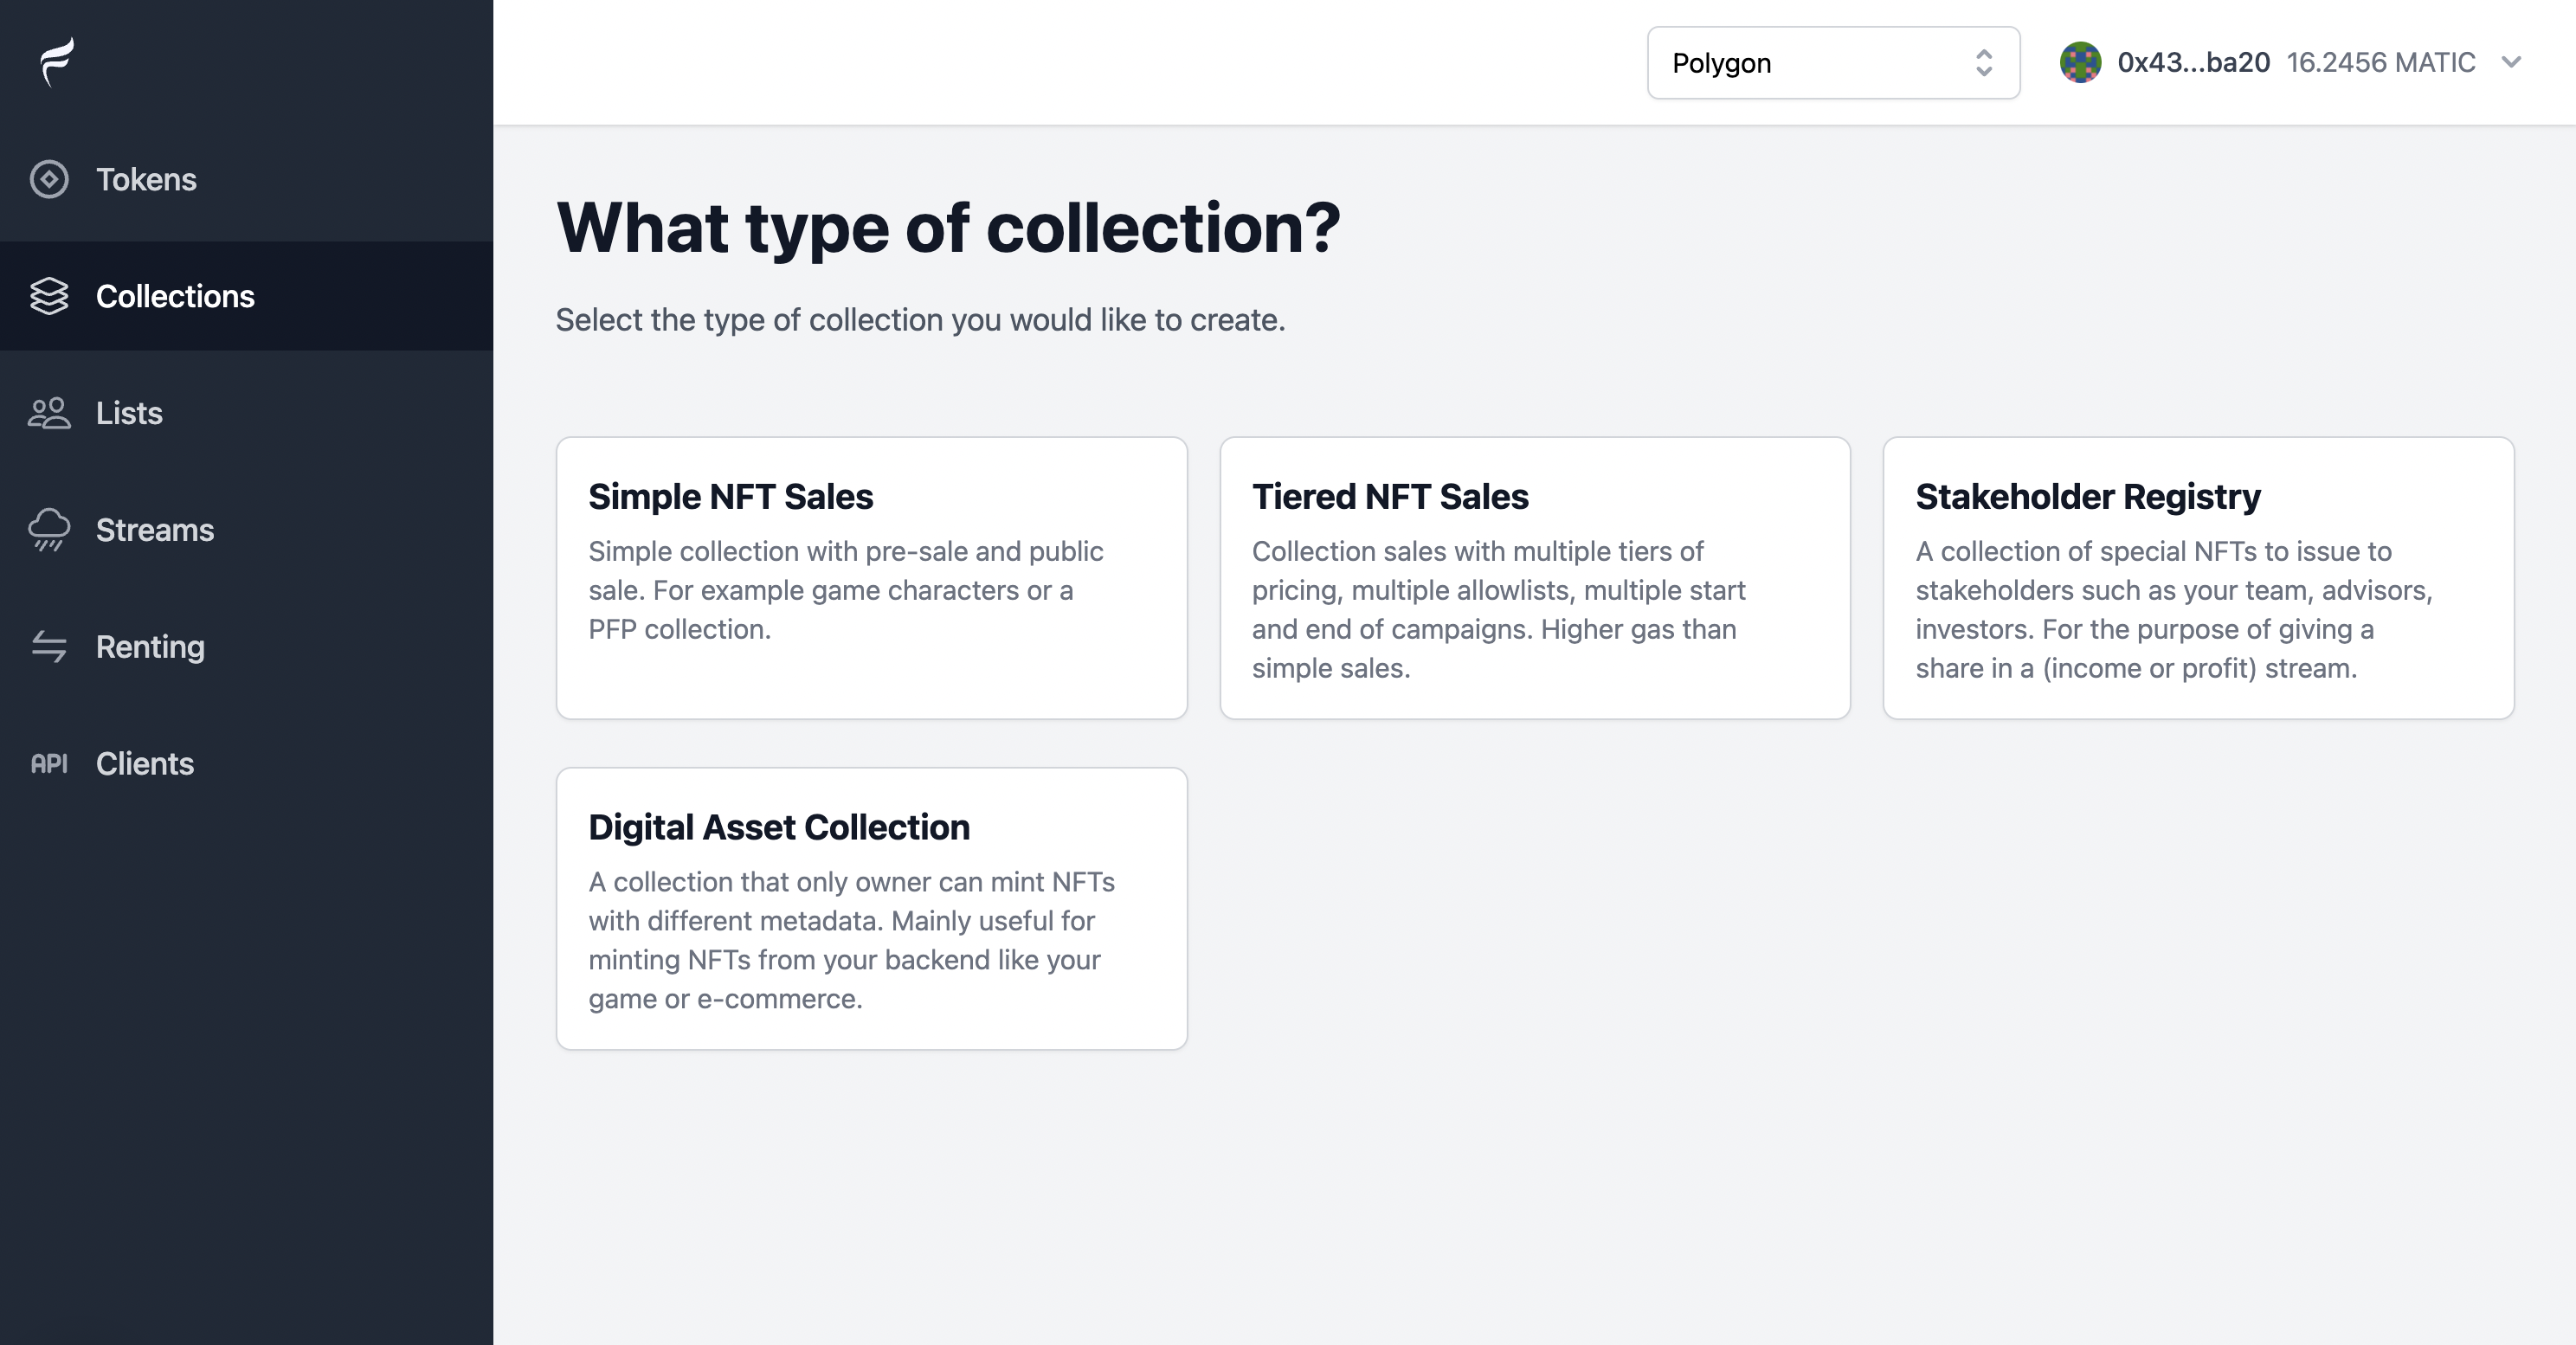
Step 2. Select the "full featured" collection
Since we want to have pre-sale and public-sale capability for our NFT collection we must choose a preset that has these extensions.
Alternatively you can customize your own contract using our open-source Sales extensions. You can still import your custom deployed collections into Flair's dashboard.
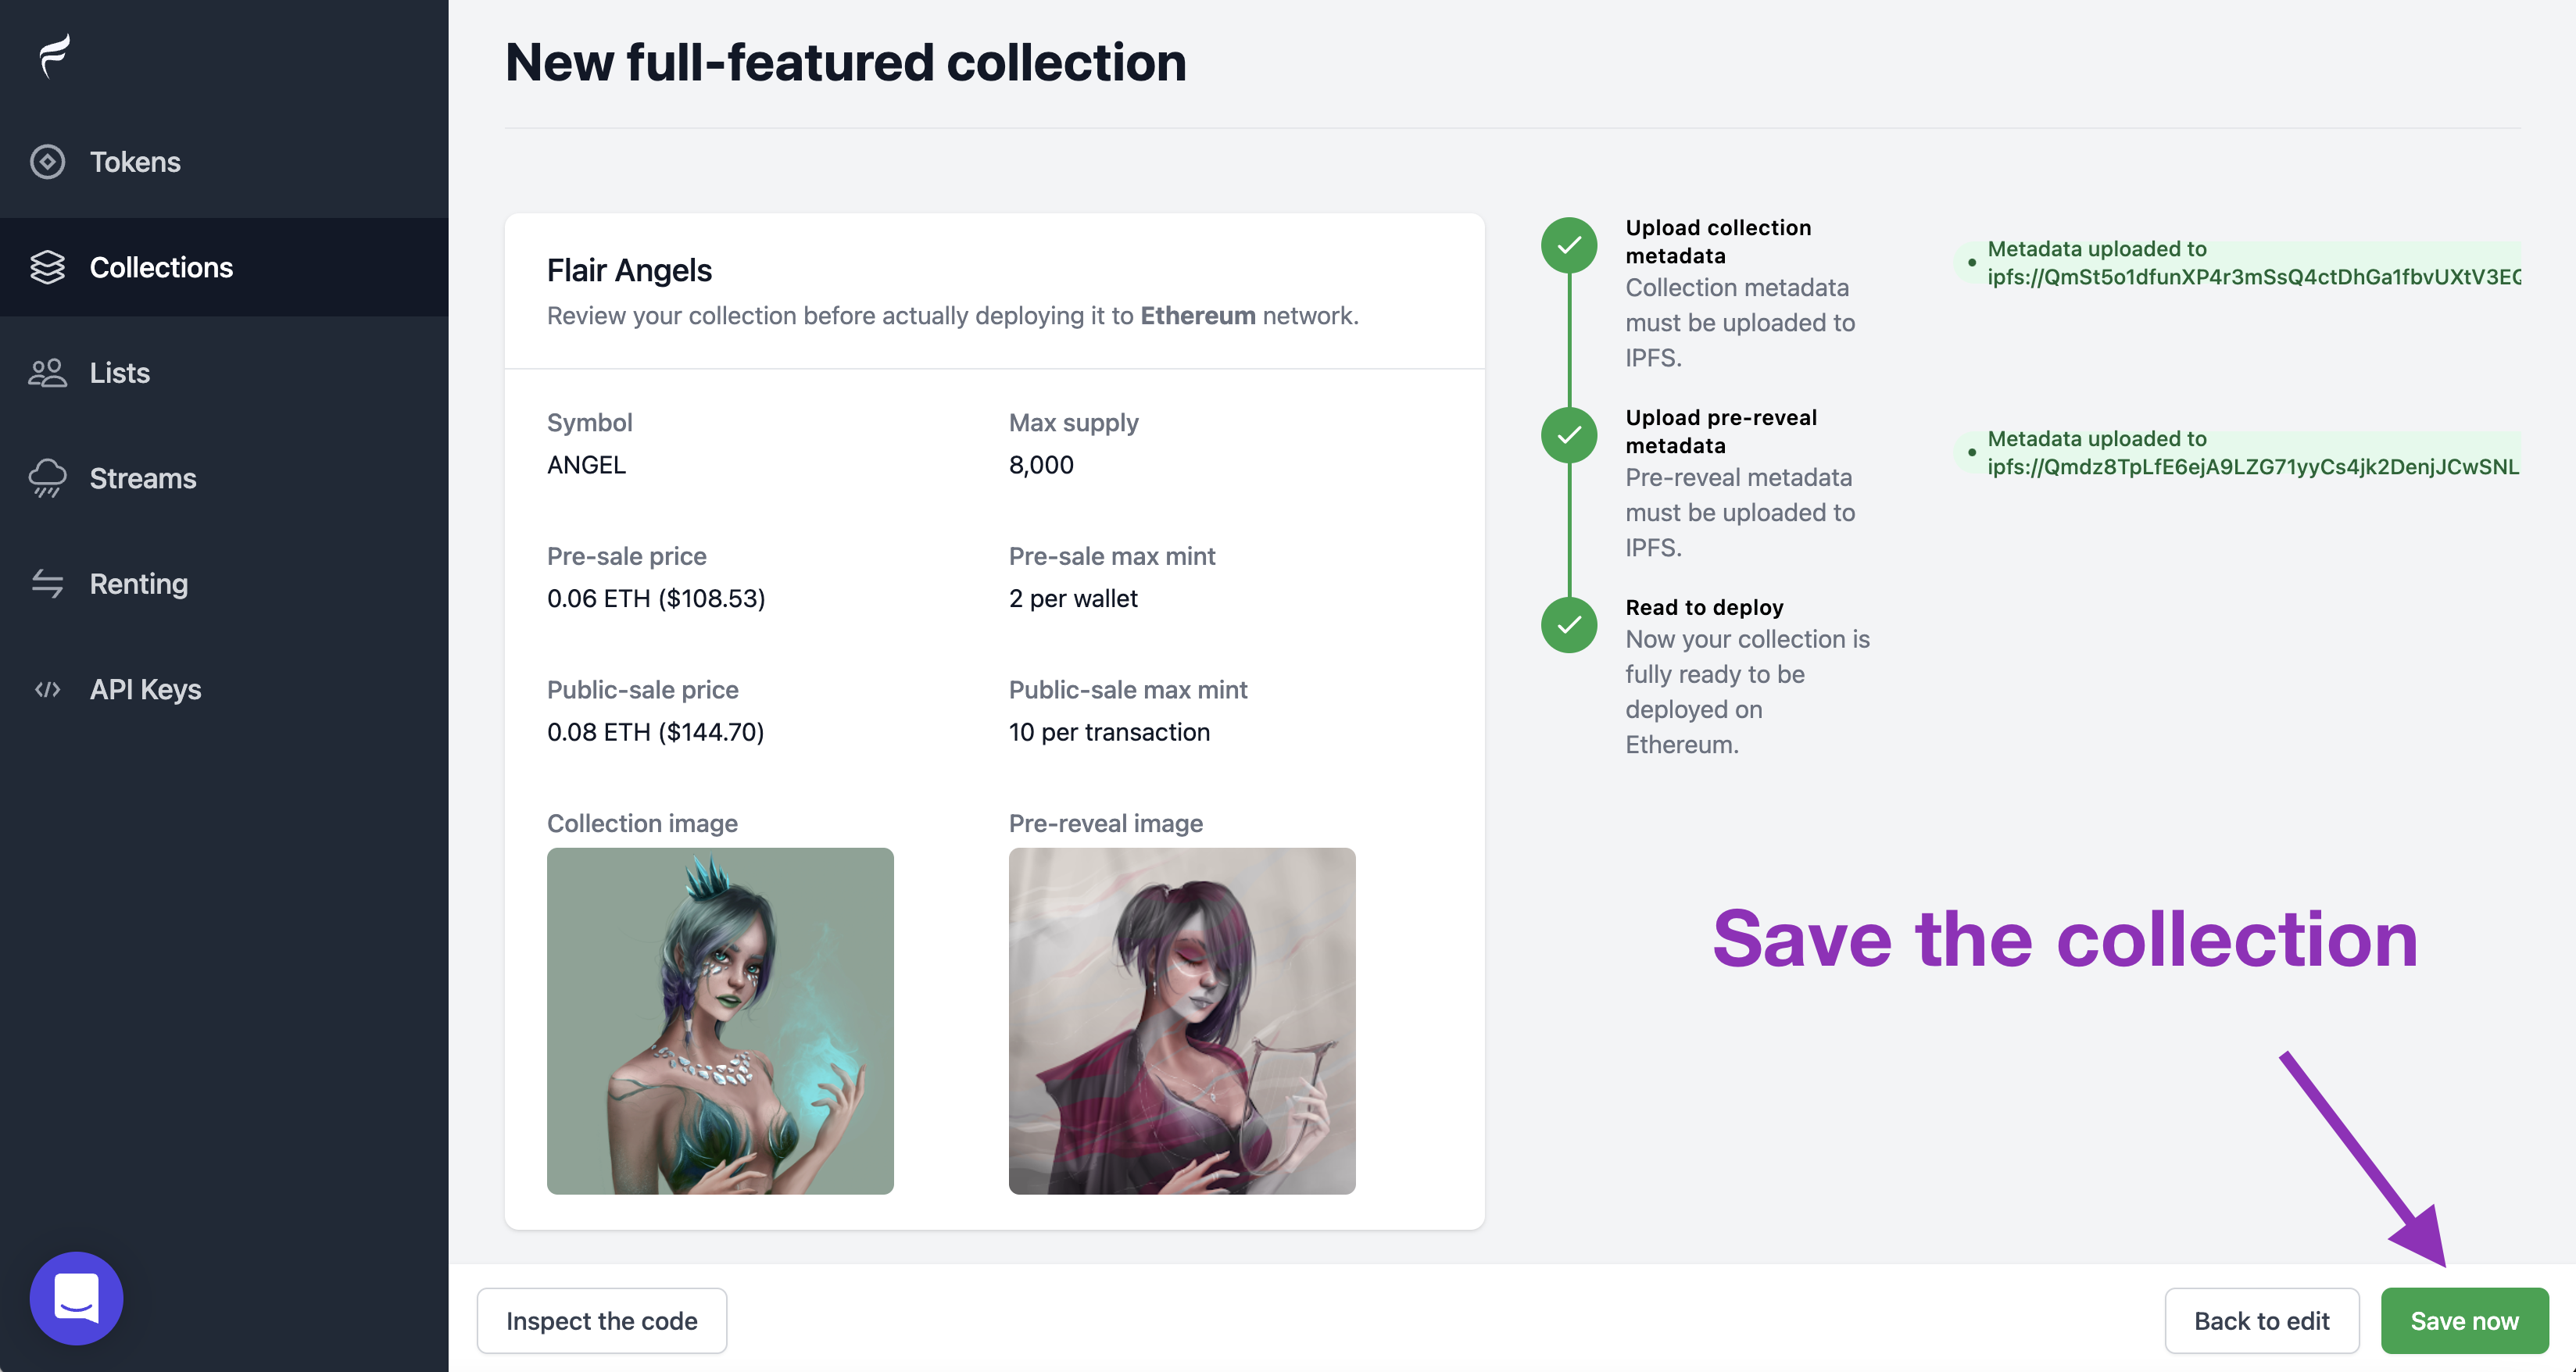
Step 3. Fill the required information
In this step you will provide information such as Name, Image, Description of your collection that is used to show on marketplaces such as OpenSea, LooksRare, etc.
Under the "Token" section you will provide on-chain Name (e.g.
Flair Angels) and Symbol (e.g.ANGEL) that is used to show in various places such as EtherScan or on marketplaces. These values cannot be changed.Under the "Pre-reveal Placeholder" section you will provide Title, Image and Description for your NFTs before you upload the final versions of the assets. This is the image that is shown on OpenSea when collectors are minting on the sales date.
Under the "Royalty" section you define which address must receive secondary-sales royalties and how much is your preferred percentage. Maximum on major marketplaces is 12%.
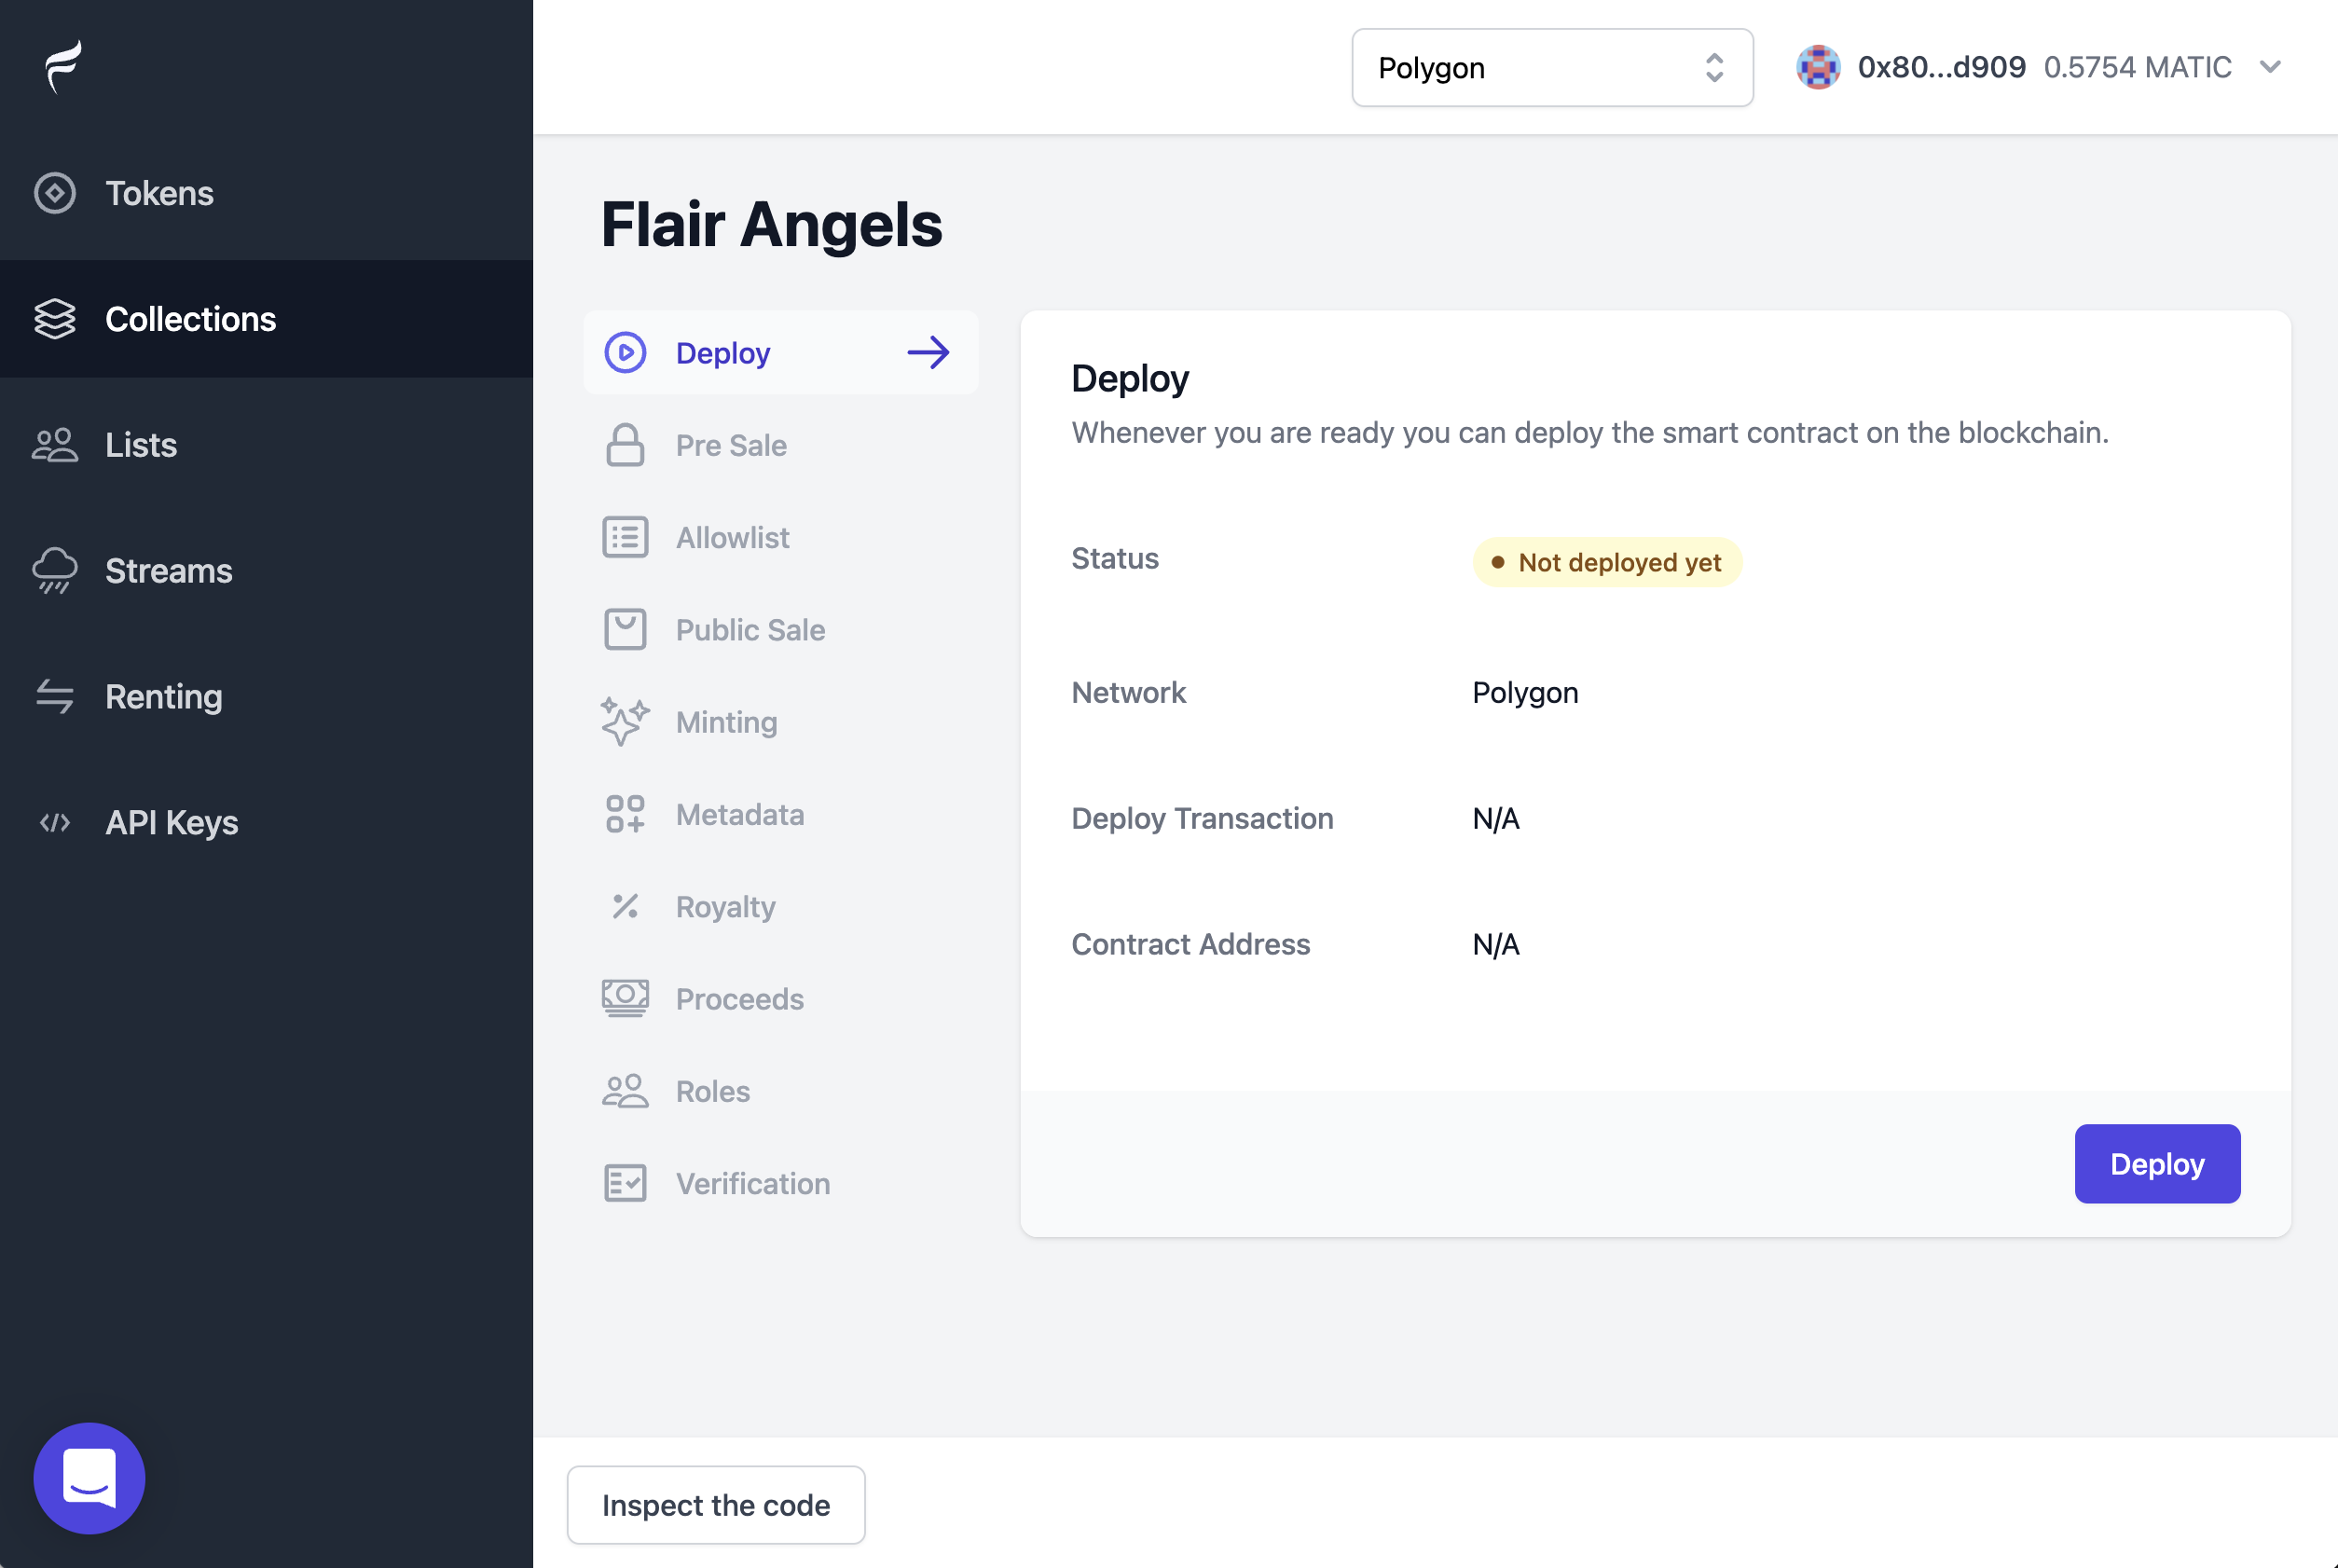
Step 4. Deploy to the blockchain
Now are you ready to deploy the actual contract on a blockchain. You can start with testnets like Rinkeby or Ropsten, or cheap chains such as Polygon (recommended) where it only costs $0.02 of gas to deploy.
tip
When using Polygon, make sure you pay enough gas fee. Since it's relatively cheap you can use the "Aggressive" option on Metamask to pay the maximum fee.
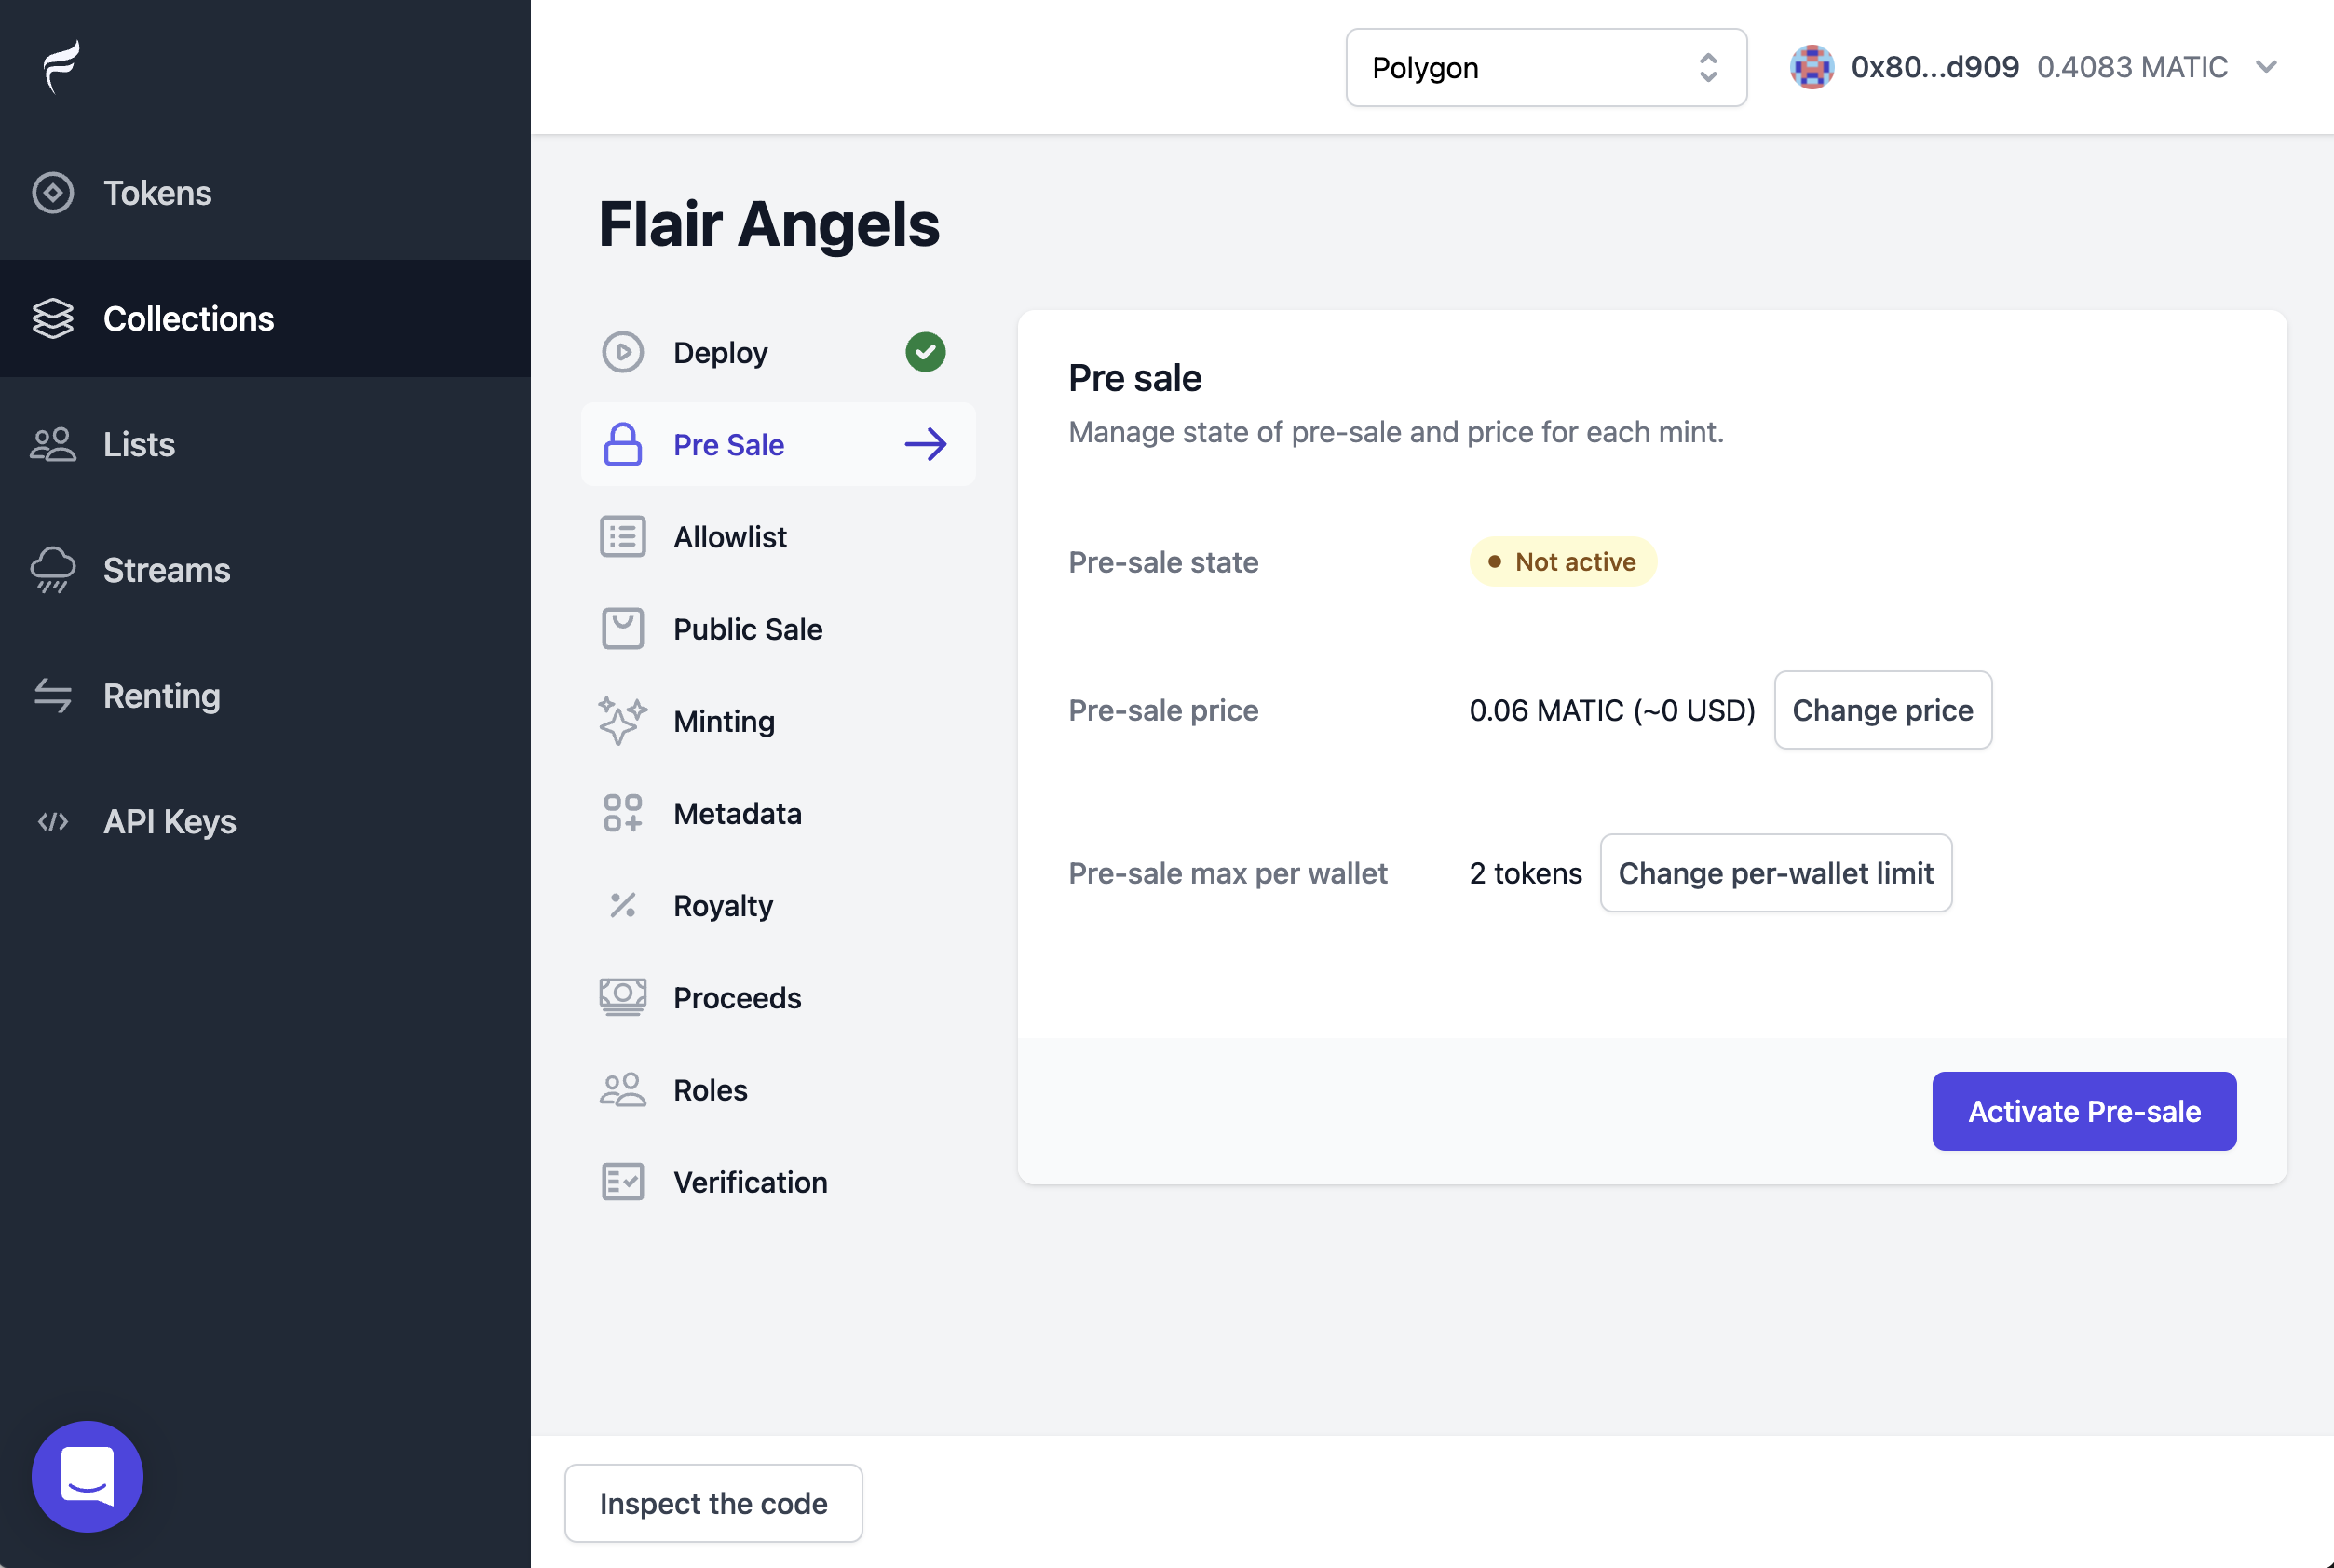
Step 5. Optionally activate pre-sale
If you like to allow certain wallet addresses (such your community OGs) to purchase the NFTs before everyone else, and even with a different price you can configure that under "Pre-sale" section.
To allowlist wallets for your pre-sale:
- Create a new "address list" by navigating to "Lists" panel.
- You can paste your community addresses in our new address smart input. It accepts all kinds of formats, CSV, word, etc. Just paste it and it magically works :)
- Go back to your Collections > my-collection > Allowlist section.
- Under the "Apply allowlist" choose the new list you created and click on "Apply"
- Activate your pre-sale under the "Pre-sale" section, by clicking on "Activate pre-sale"
- Now any of those addresses will be able to mint the NFTs from the public minting page.
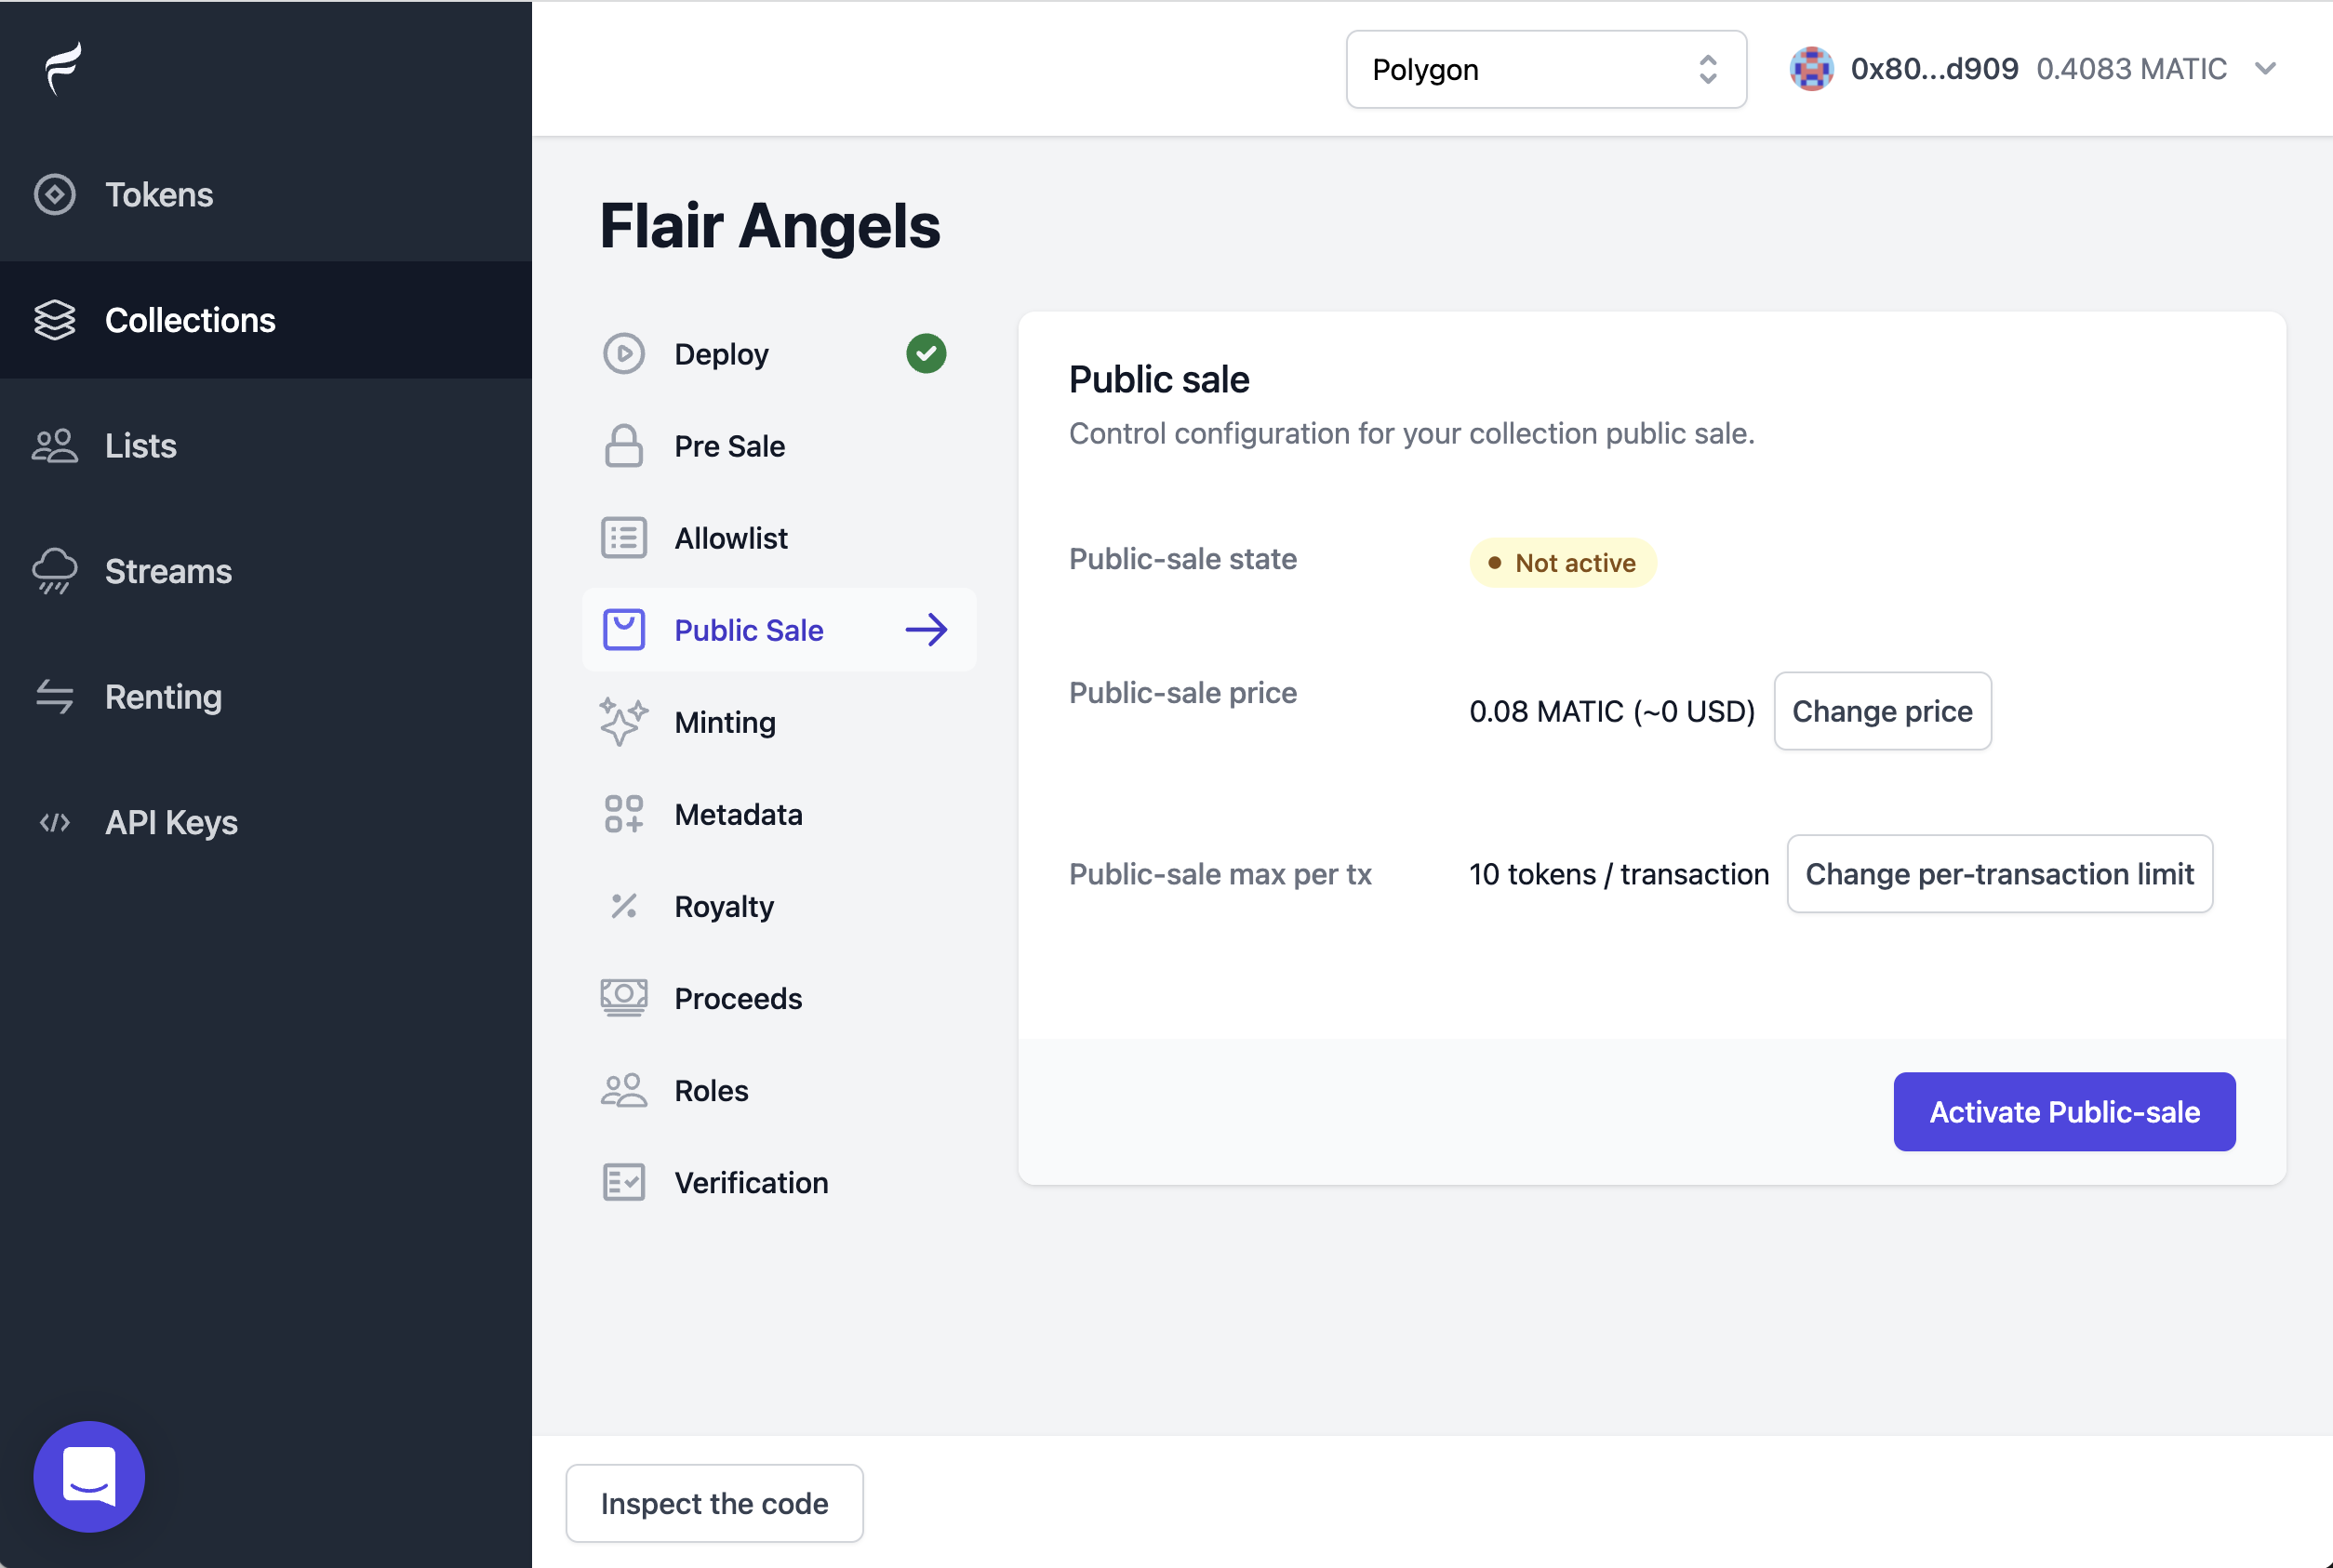
Step 6. Activate the public sale
When you're ready for the big moment, you can enable public sale of your collection with a single click :)
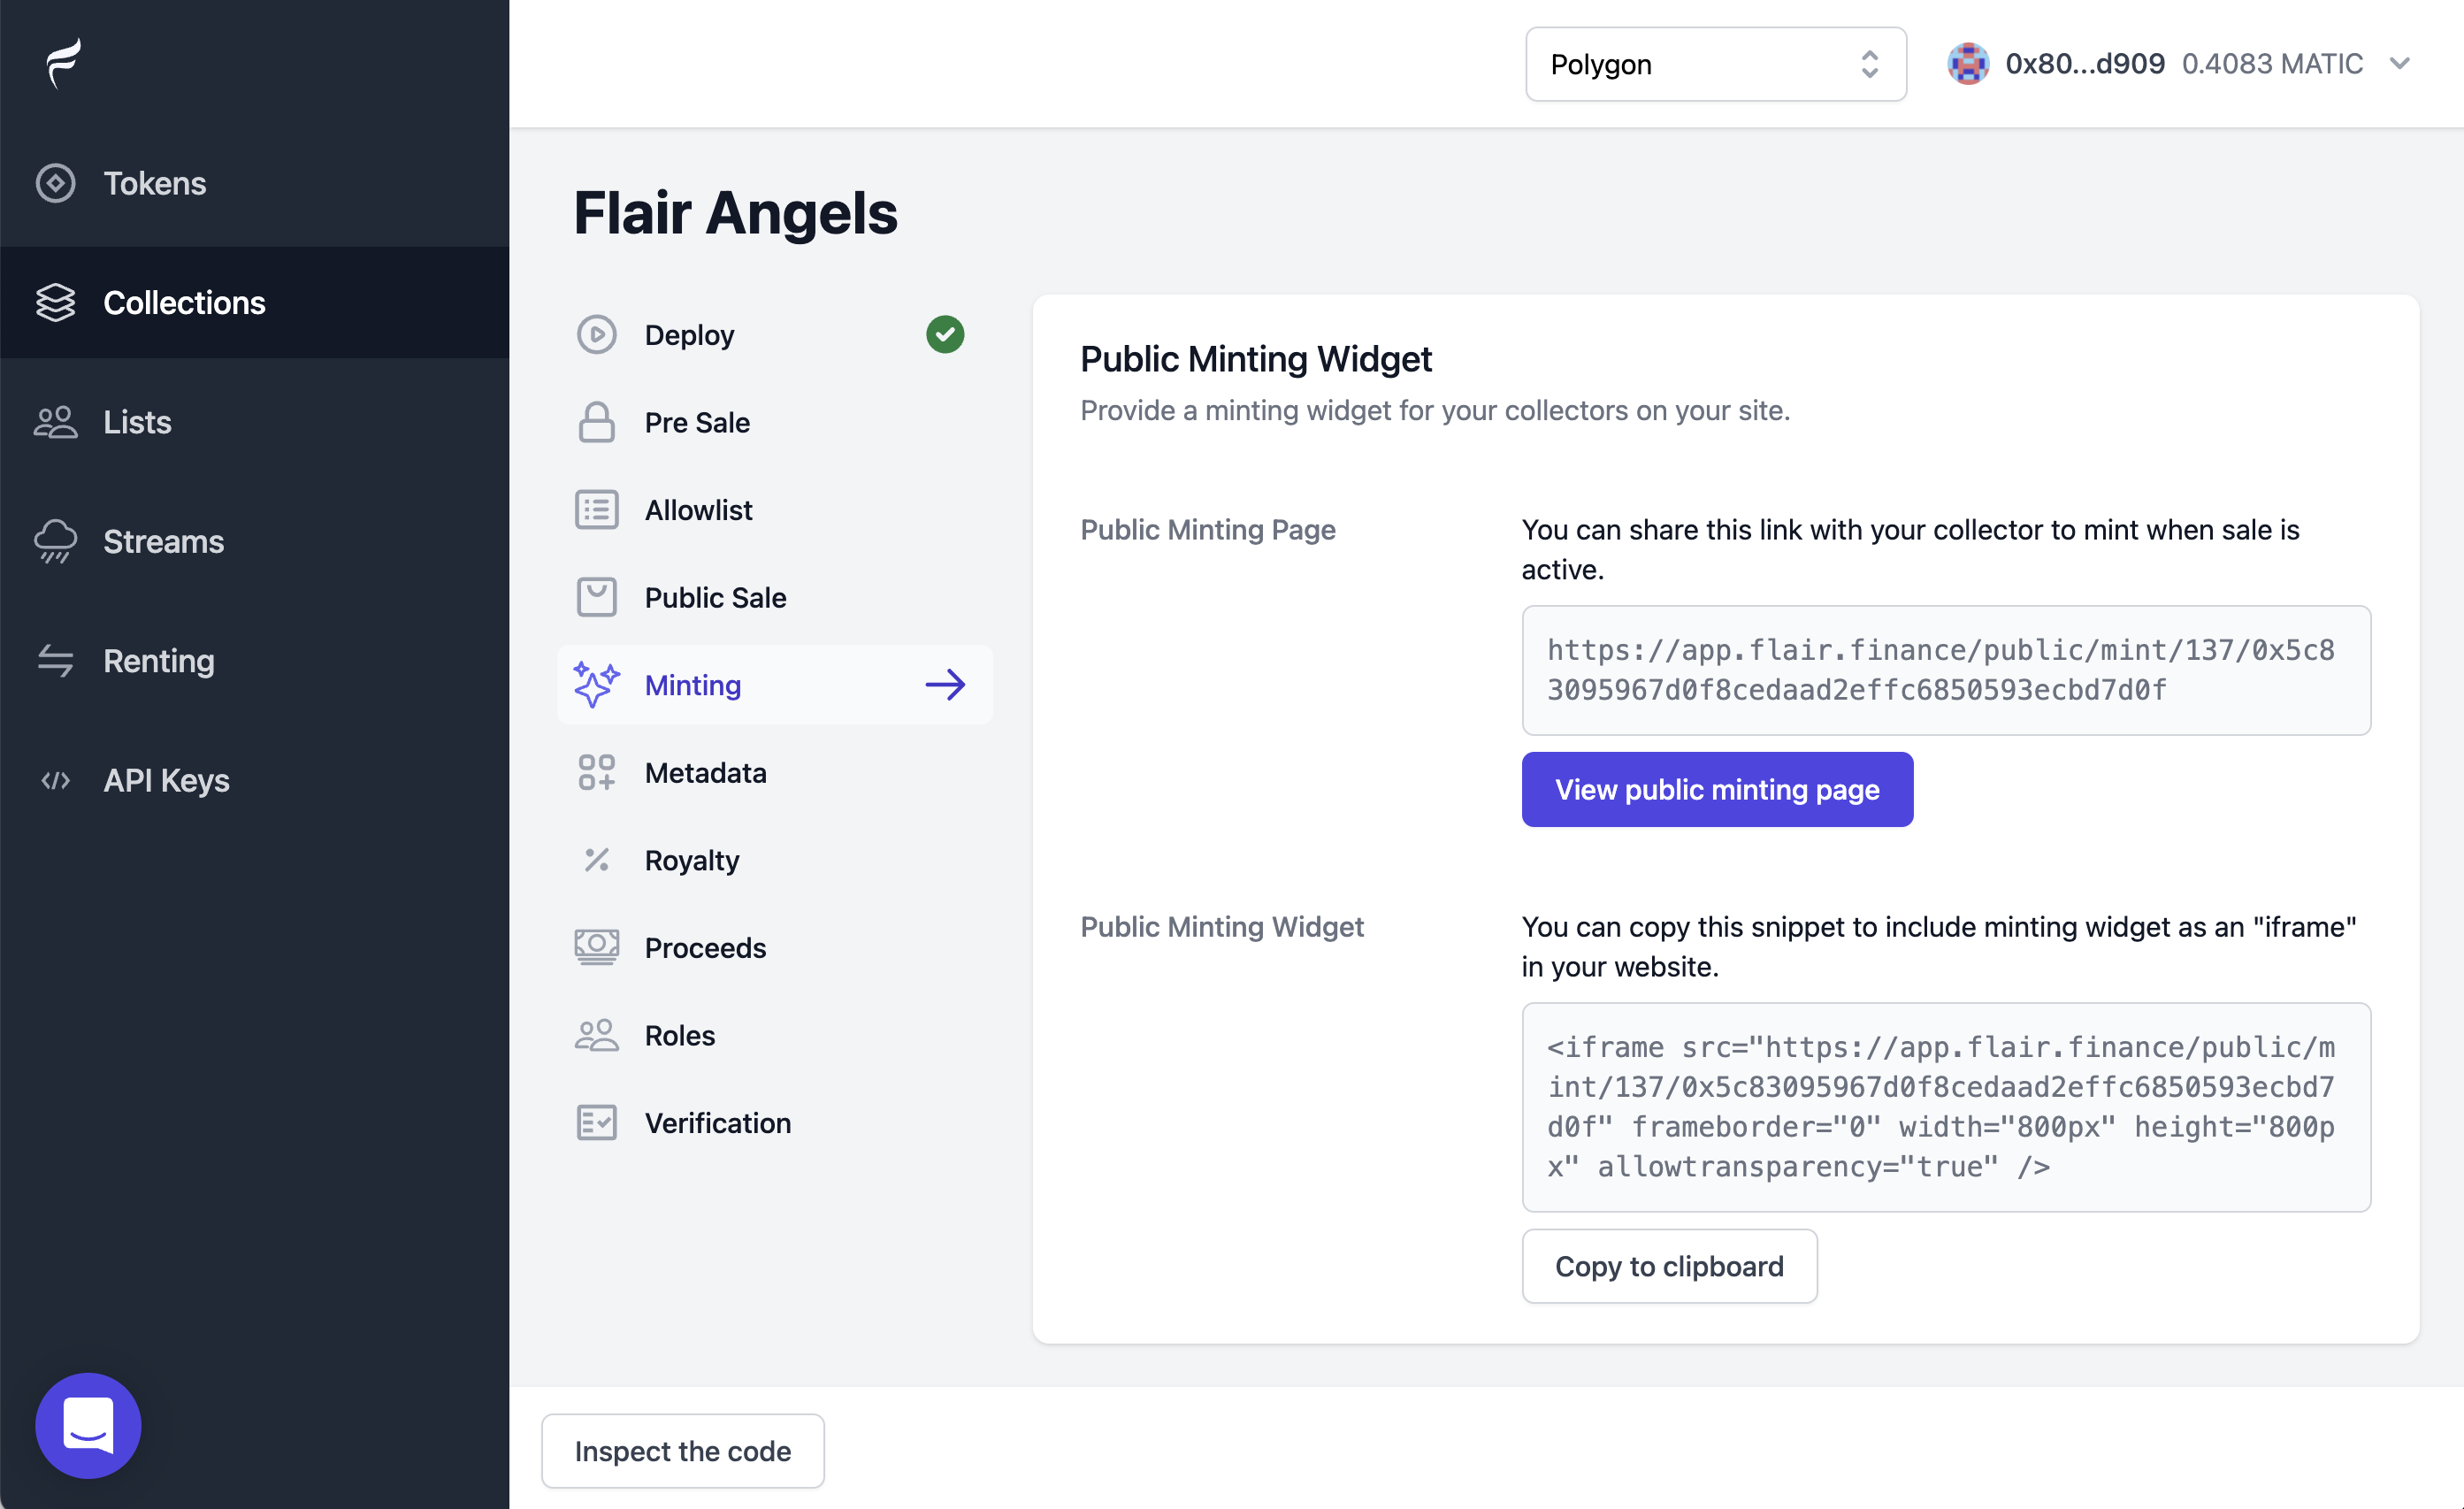
Step 7. Minting
Your minting page is fully customizable based on your own site and styling.
If you like to quickly try things our you can find a pre-built page under "Minting" section of your collection.
🎉 Launch
Your collectors can mint and purchase your NFTs:

Next steps?
In this tutorial you've deployed a new NFT Collection smart contract, and used the ready-made minting page.
Go to next tutorial: B) Upload and reveal your collection metadata